Art Projects
 Hey kids! I have been at school getting together your artwork to pick up next week! Today, I am posting such a FUN LESSON! Go ahead and grab a few supplies: Paper plate Crayons and or watercolor Yarn Construction paper Hole punch First, color or paint your plate. Half of it brown for the dirt and half blue for the sky. Second, grab some construction paper and draw your veggies. If you don't have color construction paper, use regular paper, draw veggies and color! Third, punch holes on the right and left side of your dirt. I punched about 10 holes in each side. Now, thread your yarn through the holes. I taped the ends to the back of my plate. Now, weave your veggies through your dirt yarn! You have a wonderful ART GARDEN! :)
0 Comments
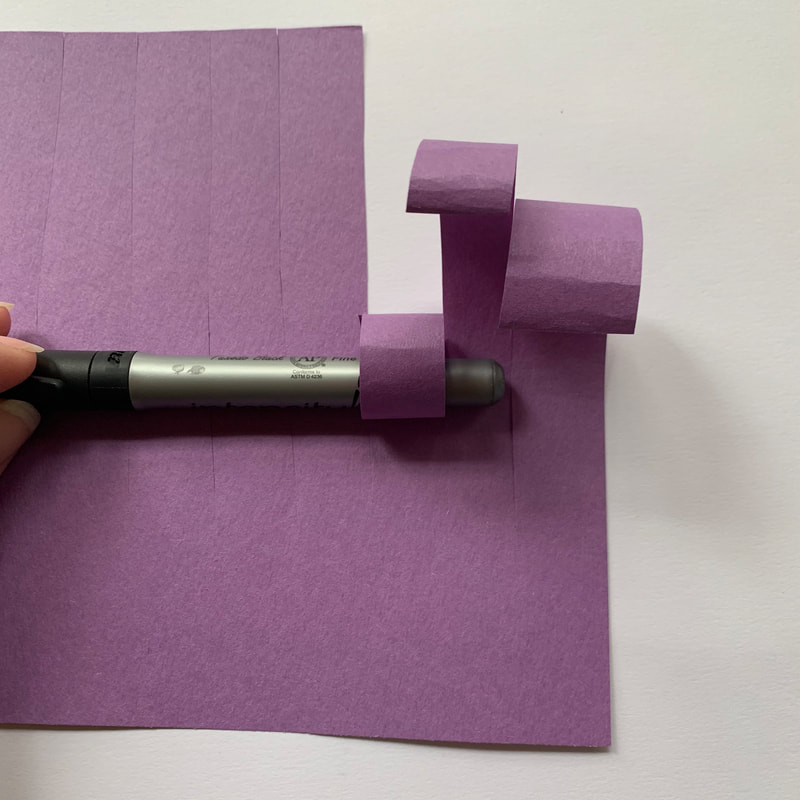
 Surprise your mom with flowers that will live forever! :) If you don't have a vase or jar to put your flowers in, you can make one! All you do is get a half piece of construction paper and cut slits in it. Roll the slits down with your finger or a pen. Pull both sides together and tape. Then add a string or ribbon. Voila! Place your flowers in the face and tell your mom how much she means to you! :)
 Today is the next full moon, visible at 6:45 this morning. You can check it out tomorrow at 6:45 am also! This is the second full moon of spring. The Algonquin Indian tribe of the Northeastern United States named it the Flower Moon because of the abundance of flowers this time of year. Some other names are Corn Planting Moon and Milk Moon. This full moon corresponds to Vesak, a holiday observed by Buddhists across Asia. All you need for this moon project is: Paper Glue Scissors Lid or plate for tracing Crayons or watercolor Step ONE: Trace your lid or plate
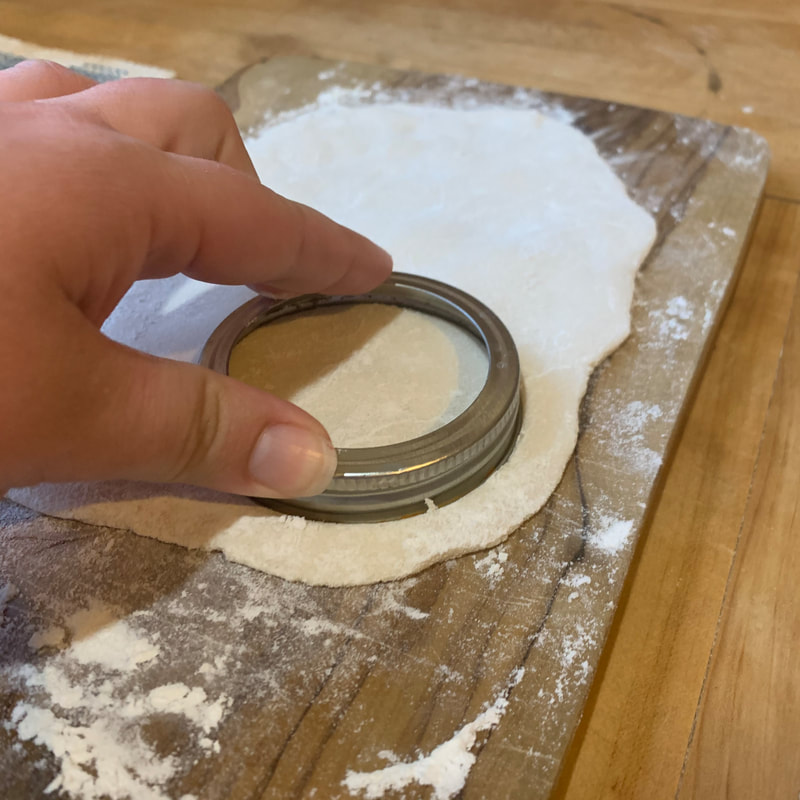
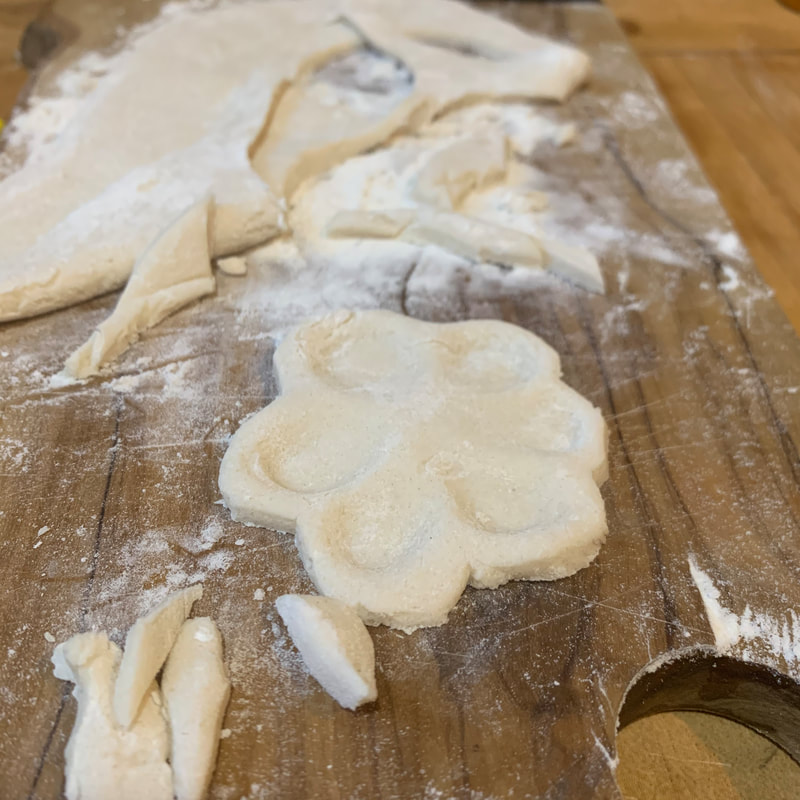
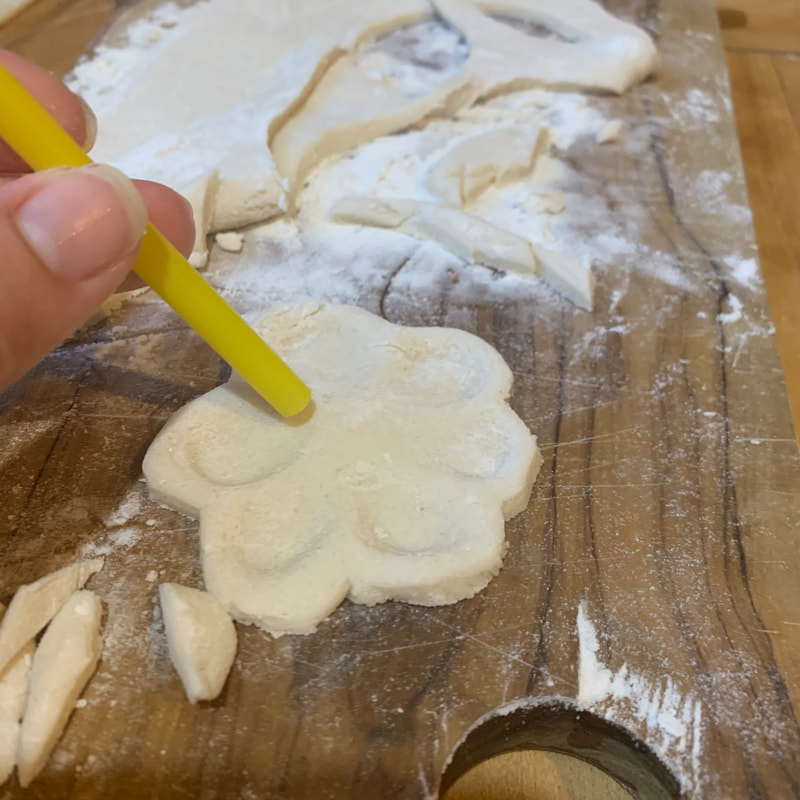
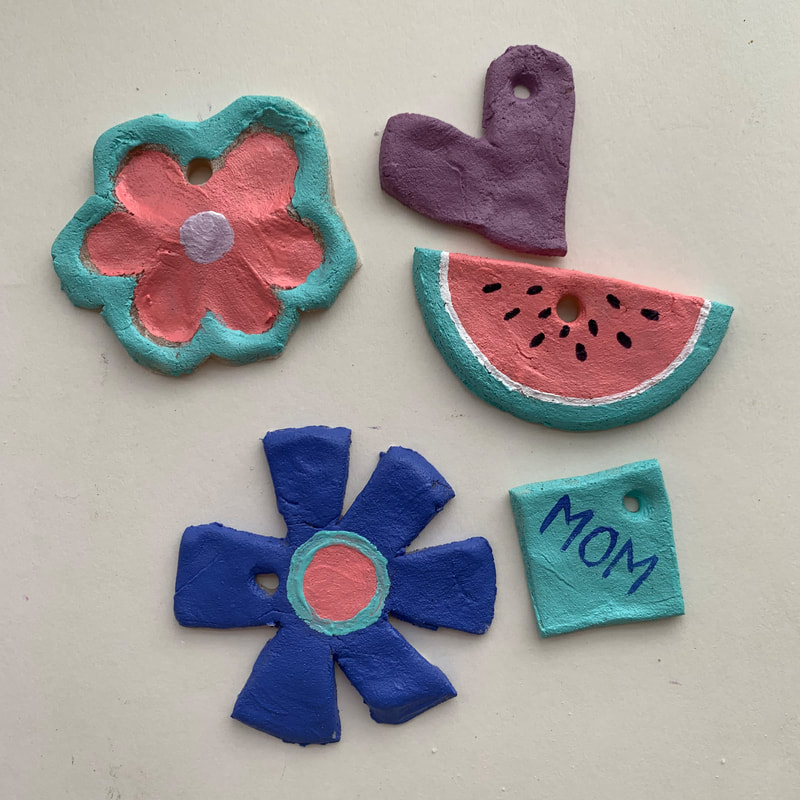
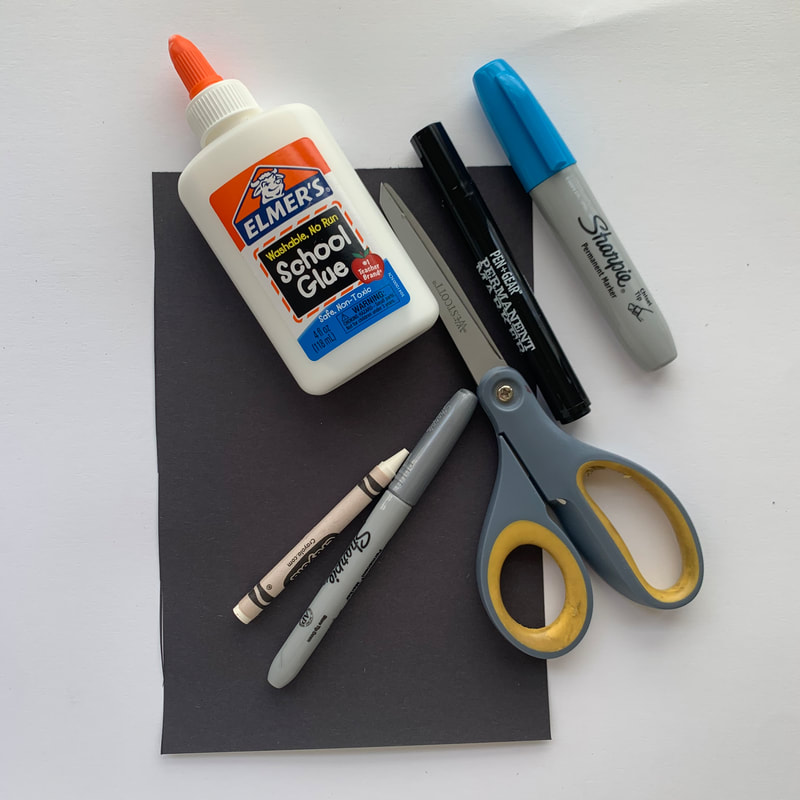
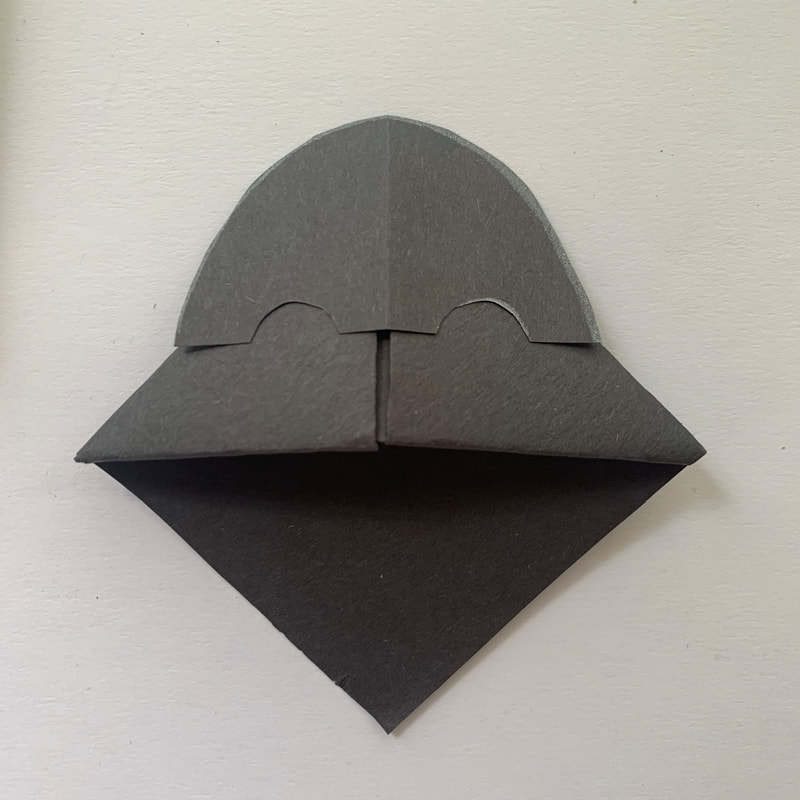
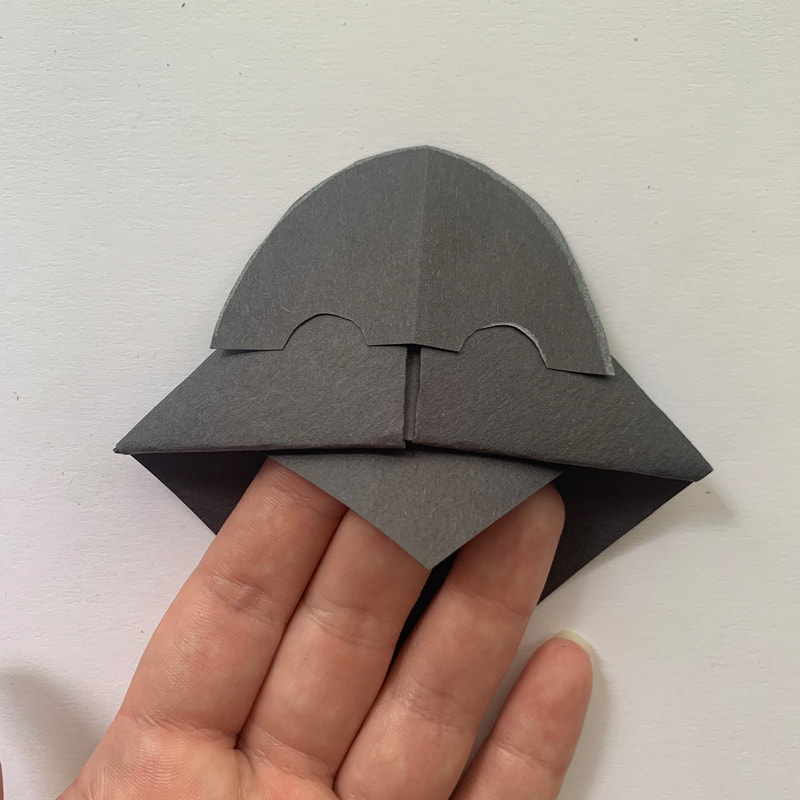
Step TWO: Cut it out Step THREE: Add craters to your moon with Elmer's Glue Step FOUR: While you are waiting on the glue to dry, create your background I used a white crayon for small stars and collaged yellow stars around the black paper. Step FIVE: Once your glue craters have dried, color or watercolor over your moon. Step SIX: Glue your moon to your background and you're done! HAPPY SUPER FLOWER MOON! Mothers Day is Sunday and I have a very simple gift idea for yours! Moms love jewelry right?! You can make the most beautiful jewelry for them straight from your heart and from the kitchen cupboard! Supplies: 1/2 cup salt 1 cup flour 1/2 cup water Mix ingredients together. Knead the dough together. Roll salt dough about 1/4" thick. Not too thick, not too thin. Create your shapes, cut them out, use cookie cutters, use your hands and fingers, anything you want! Bake at 250 for about 2 hours... until salt dough jewels are completely hard all the way through. Like I said, once you roll your salt dough out, you can make anything. I am NOT a baker so I do not have cookie cutters. That probably would have been easier! Haha. I just used a lid to cut circles. Also, for the flower pictures above, I simple used my fingerprints to make it. Then, I cut the edges with butter knife and poked a hole in it with a straw. When you have baked them at 250 for 2 hours or until totally hardened. PAINT! Paint any way, any style, any colors you want! Put sequins, glitter, nail polish! Once you've painted, pull out the yarn and beads and start bedazzling! If you don't have beads, don't worry! Simply hang your jewel from a string and watch your mom's eyes light up! This is such a treasure from the heart that will hang next to her heart! :) Happy Mother's Day to all the hard working moms out there! Xx, Mrs. Gipaya   Today is Cinco de Mayo and I cannot possibly teach art without teaching cultures. Other cultures incorporate celebrations, spirituality and religion. Even if we have different beliefs, knowledge is power and to know about these other cultures and their traditions is special. So, what is Cinco De Mayo? I'll tell you! Cinco De Mayo is an annual celebration held on May 5th. The date is observed to commemorate the Mexican Army's victory over the French Empire at the Battle of Puebla, on May 5, 1862, under the leadership of General Ignacio Zaragoza. It was a galvanizing victory for Mexico! Now, for the art.... Ojo de Dios or God's Eye. A God's eye is a spiritual and votive object made by weaving a design out of yarn upon a wooden cross. It is an ancient symbol made by the Huichol Indians of Mexico and the Aymara Indians of Bolivia. You can see them all over Mexico, in homes, hanging in doorways and windows... they are quite magical! It is actually easier to number your sticks. I start from the right side with 1. Then, I go counter clock wise 2, 3, 4. Make an X in the middle of your cross. Wrap the yarn once around #1. Go behind #2 and wrap in front. Repeat the process. Once you get the hang of it, it's simple and quite therapeutic. Continue the wrapping process as far as you would like. Then, when finished, tie your yarn off on the last stick or tape it. I taped it for this one because I was going to wrap more string to cover the tape. I added extra FUN to mine. Below, I will show you how to make a simple tassel if you want some to hang from your ojo de dios.  Today is duhhhh.... Star Wars Day. Need some motivation to get reading?! Maybe Darth Vader can help. Let's turn him into a bookmark! You need: Black piece of construction paper (cut in half) Scissors Glue Black marker White crayon I will put the steps below. Most of my older students have done the bookmark making process. We turn bookmarks into ALL KINDS OF THINGS in the art room! Let's get started! With your half sheet of black construction paper, fold the corner over (pictured above). Then cut off the rectangle below. This leaves you with a triangle (or square if opened). Once you have your triangle, fold the top part of the triangle down to the bottom. Take the right side and fold up. Now fold the left side up. Tuck both sides into the pocket you just formed. That rectangle that you cut off, go ahead and grab it. Draw a semicircle on it and cut it out. Then, fold the semicircle in half and cut a small semicircle (this will be the top of the eyes). Also, cut out a small triangle. Now, glue the top of the head on. Then, glue the triangle under the pocket. Now, add designs! I did mine with black sharpie, white crayon, a metallic silver sharpie and went over with paint. For the red and blue buttons, you can do it with crayons, colored pencils, paint or even nail polish! Have fun! Happy 4th!
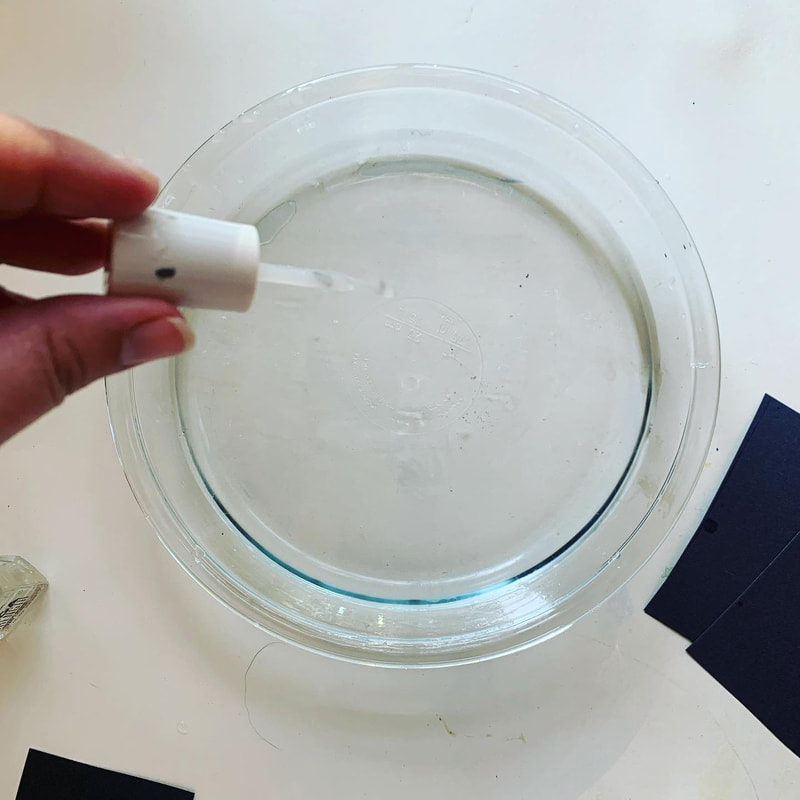
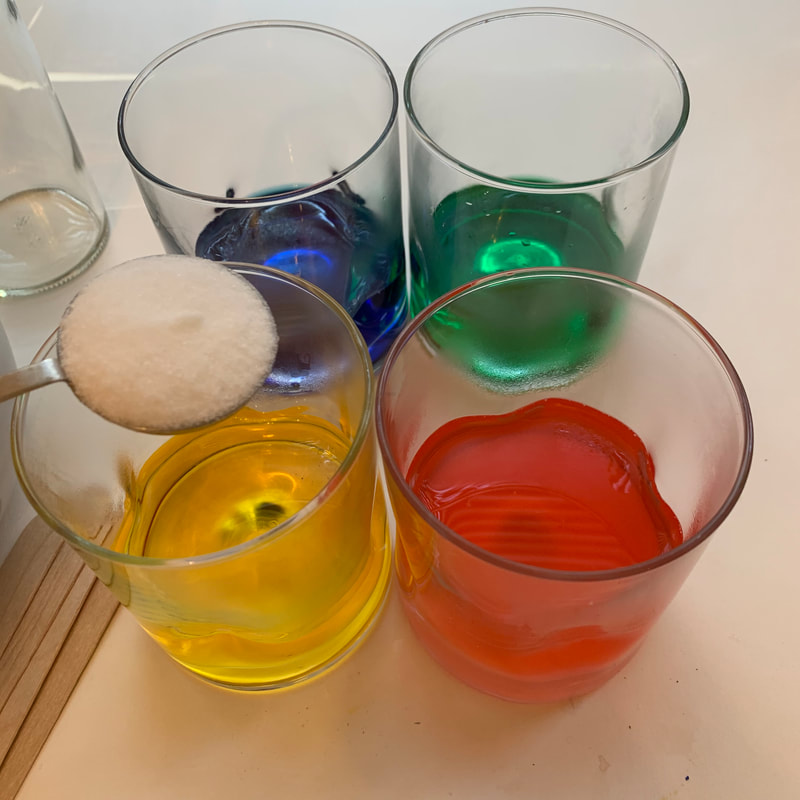
Xx, Mrs. Gipaya To end rainbow week, this is our final experiment. It is simple with very few supplies! What you need: A bowl of water Clear fingernail polish Black pieces of construction paper In your bowl of water, add a drop or two of fingernail polish. Dip your black construction paper in it and easily pull it back out. That's it! Let it dry and you will end up with fascinating colors! remember doing this experiment in elementary school! I have done it with oil but today I am doing it with sugar and water. To make your rainbow in a jar, students are learning about density by layering sugar water to create a rainbow! For the materials, it's all things you most likely have on hand. Materials: Approximately 2 cups of warm tap water 1/2 cup measuring cup 1 Tablespoon measuring spoon 4 small glass jars 1 1/2 cups granulated white sugar Red, blue, yellow and green food coloring Tall thin glass for the test tube Straw 4 popsicle sticks  Step 1: Measure 1/2 cup warm tap water into each of the 4 jars Step 2: Add 2 drops of food coloring to each of the 4 jars  Step 3: To the red jar, add 2 tablespoons of sugar. To the yellow jar add 4 tablespoons of sugar. To the green water, add 6 tablespoons of sugar. To the blue water, add 8 tablespoons of sugar. Step 4: Stir each of the jars to dissolve the sugar. If the water is not warm enough to dissolve, put it in the microwave for 20 seconds or so. Step 5: Pour about an inch of the blue water into your tall test tube glass. Step 6: Use your straw to gently drip the green water on top of the blue layer. It may work best to place the straw to the side of the glass, just above your blue layer. You should be adding the layers slowly and carefully, otherwise they will all mix together. Add your yellow layer and then your red. Stand back and admire your beautiful density rainbow!
P.s. I used probably too much blue and not enough yellow. It's an EXPERIMENT! The outcome isn't the most important. Enjoy the process :) Just like art! Xx, Mrs. Gipaya |
About MeI am an elementary school art teacher that loves traveling, exploring and creating! 
Archives
March 2021
Lessons |


 RSS Feed
